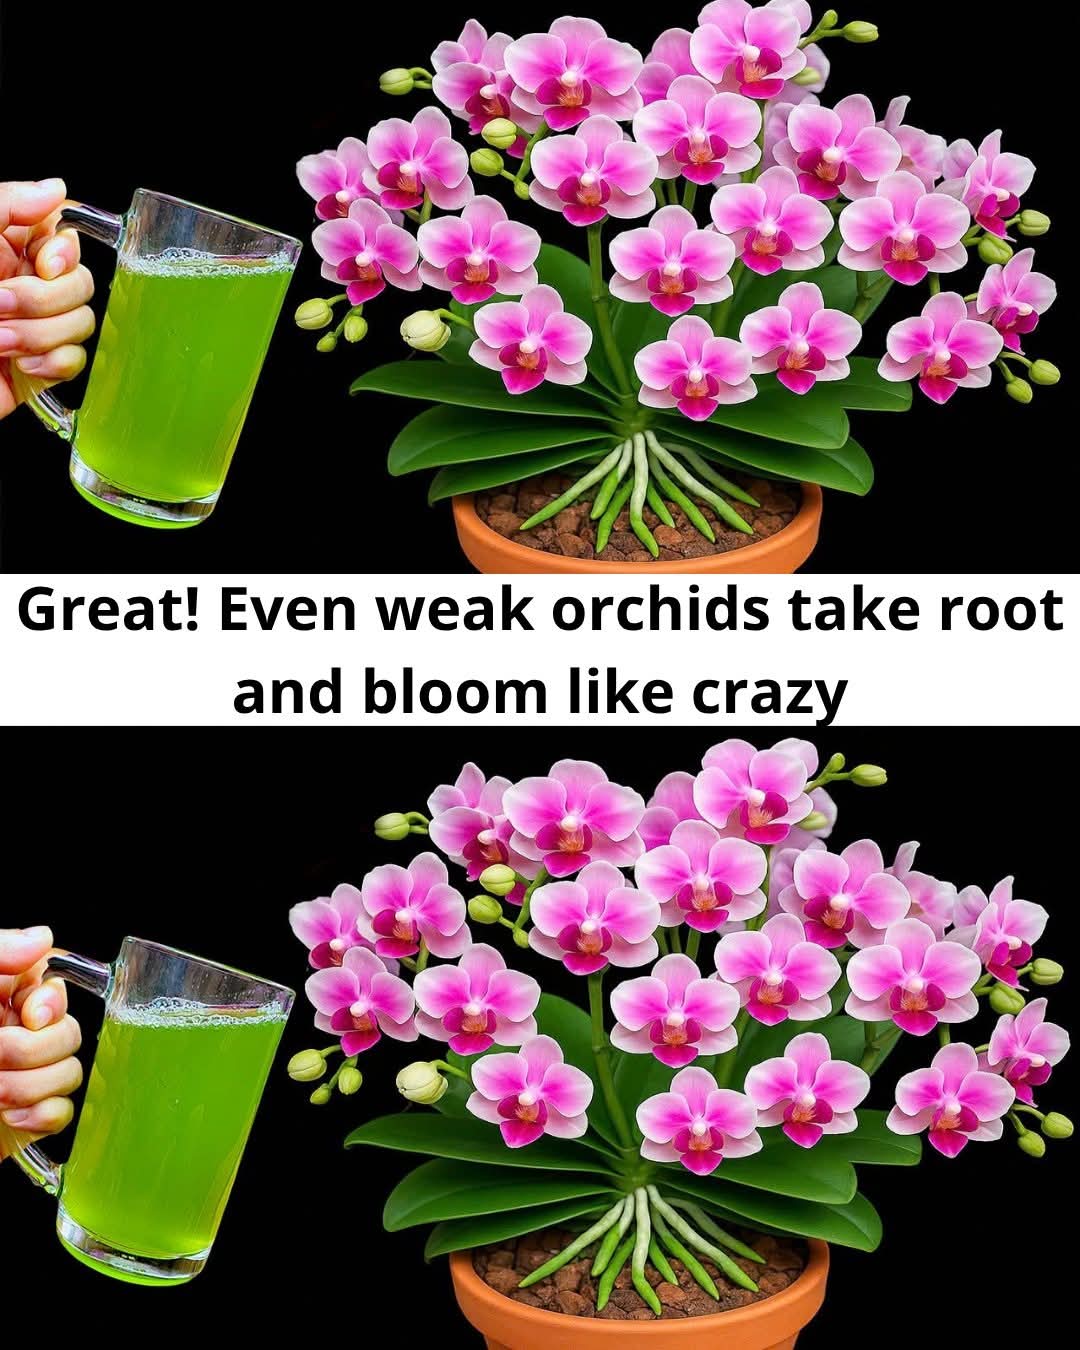
🟢Orchids (Phalaenopsis) are among the most captivating indoor plants, famous for their breathtaking pink blossoms and elegant structure. However, it can be frustrating when an orchid stops blooming, loses its root vitality, or looks weak and dormant. Fortunately, you don’t need expensive synthetic plant boosters to trigger vibrant new flower spikes and lush root development. With a simple, natural homemade green fertilizer tea, even the weakest orchids can take root, recover their health, and bloom abundantly! 🌟🌸
🟢Whether you are looking to restore a struggling potted plant or simply want to boost your blooming schedule, this professional step-by-step care guide covers everything you need to know to make your orchids thrive! 🌸👍
🌟 Why Orchids Lose Their Energy & Stop Blooming
🟢Orchids are epiphytes, meaning in nature they grow attached to tree bark rather than in standard garden soil. When grown indoors, they require very specific environmental conditions and gentle nutrient boosts to stay healthy! 🌿
- Lack of Key Micronutrients: Standard orchid bark drains quickly, leading to nutrient depletion over time. Nitrogen, potassium, and natural growth hormones are essential for flower development. 🧪
- Weak or Rotting Roots: Overwatering or poor pot ventilation damages aerial roots, preventing the plant from absorbing moisture and nourishment properly. 🌊
- Insufficient Light: Orchids require bright, indirect sunlight to accumulate energy for long-lasting flowers. ☀️
- Temperature Stagnation: A slight temperature drop between day and night is often required to trigger new flower spikes. 🌡️
📊 Quick Orchid Care Guide Overview
| Care Factor | Optimal Requirement | Common Mistake to Avoid |
|---|---|---|
| Light Exposure ☀️ | Bright, indirect sunlight near an east or south window | Direct, harsh midday sun that scorches leaves |
| Watering Method 💧 | Soak roots once every 7–10 days when bark is dry | Constant wet soil or water trapped in the crown |
| Potting Medium 🪴 | Coarse pine bark, perlite, and coconut husk | Standard potting soil or heavy garden dirt |
| Natural Booster 🌿 | Homemade green tea or Aloe liquid once monthly | Over-fertilizing with strong chemical salts |
| Humidity 🌫️ | 50% to 70% relative humidity | Extremely dry indoor air near |
🛒 Ingredients for the Natural Green Fertilizer Liquid
🟢To make this gentle, nutrient-rich green fertilizer for your orchids, gather these simple organic ingredients:
Ingredients & Supplies
- 1 Large Fresh Aloe Vera Leaf or Green Tea Bag 🌿 (rich in natural phyto-hormones, antioxidants, and enzymes)
- 1 Liter Filtered or Rainwater 💧 (room temperature)
- 1 tsp Organic Honey or Rice Water 🍯 (feeds beneficial microbial activity)
- Glass Jar or Mug 🥛 (for steeping/mixing)
- Fine Mesh Strainer 🥣
👩🌾 Step-by-Step Preparation & Application Guide
Follow these simple, step-by-step instructions to nourish your orchids safely:
Step 1: Prepare the Natural Green Solution 🌿
- Slice open a fresh Aloe Vera leaf and scoop out 2 tablespoons of clear gel (or steep 1 bag of organic green tea in 1 cup of warm water and let cool).
- Blend the fresh gel with 1 liter of filtered water until fully smooth and emulsified.
- Add 1 teaspoon of natural honey or fermented rice water and stir thoroughly until dissolved.
- Strain the liquid through a fine-mesh sieve to remove any heavy pulp or solid particles. 🥣
Step 2: Inspect and Clean the Orchid Roots 🌸
- Check your orchid’s roots and potting medium. Trim away any mushy, brown, or dried-out root tips using disinfected scissors.
- Leave firm green or silver aerial roots intact. ✂️
Step 3: Apply the Soaking Method 🥛
- Never pour fertilizer directly into the dry crown (center) of the orchid leaves!
- Pour the diluted green liquid fertilizer directly into the outer bark medium.
- Alternatively, place the orchid pot into a basin filled with the liquid and let the roots soak from the bottom up for 15 to 20 minutes. ⏱️
Step 4: Drain Completely 🪴
- Lift the pot out of the solution and let all excess water drain completely through the bottom drainage holes.
- Ensure no standing water remains trapped in the bottom saucer or leaf axils, as excess moisture causes root rot. 🚫
Step 5: Provide Ideal Light & Care ☀️
- Place your treated orchid in a warm spot with abundant bright, filtered sunlight.
- Repeat this gentle liquid feeding routine once every 3 to 4 weeks during active growth periods! 🎉🌸
💡 Expert Tips for Continuous Orchid Blooms
- Trigger Blooms with Temperature: To encourage a dormant orchid to produce a new flower spike, place it in a room that cools down to around 60°F–65°F (15°C–18°C) at night for two weeks. 🌡️🌸
- Use Transparent Pots: Clear plastic pots allow light to reach the roots (which photosynthesize) and make it easy to monitor root health! 🪴
- Wipe the Leaves Clean: Keep large green leaves free from dust using a damp cloth so the plant absorbs maximum light energy! 🧹🍃
🛑 Common Pitfalls to Avoid
- Avoid Over-Feeding: Too much fertilizer causes salt buildup, burning delicate root tips. Stick to once-a-month feeding! 🧪❌
- Never Leave Water in the Crown: Water standing in the center where leaves meet can lead to crown rot, which can destroy the plant. 🌊🚫
- Keep Away from Hot Direct Sun: Direct sunlight through glass can burn tender orchid leaves, causing dark scorched spots. ☀️
📌 Summary
🟢Restoring a dormant or weak orchid into a lush, blooming centerpiece is simple when you provide proper root hydration and gentle organic nutrients. By applying this simple natural green fertilizer solution and following smart watering practices, your orchids will develop strong root structures and burst with continuous, gorgeous pink blooms! 🌸🪴😋🎉