Orchids—especially the popular Phalaenopsis (Moth Orchid)—are famous for their stunning, long-lasting blooms and unique aerial root systems. However, indoor orchid growers often face common challenges: slow growth, dormant flower spikes, or dehydrated roots that turn grey and brittle.
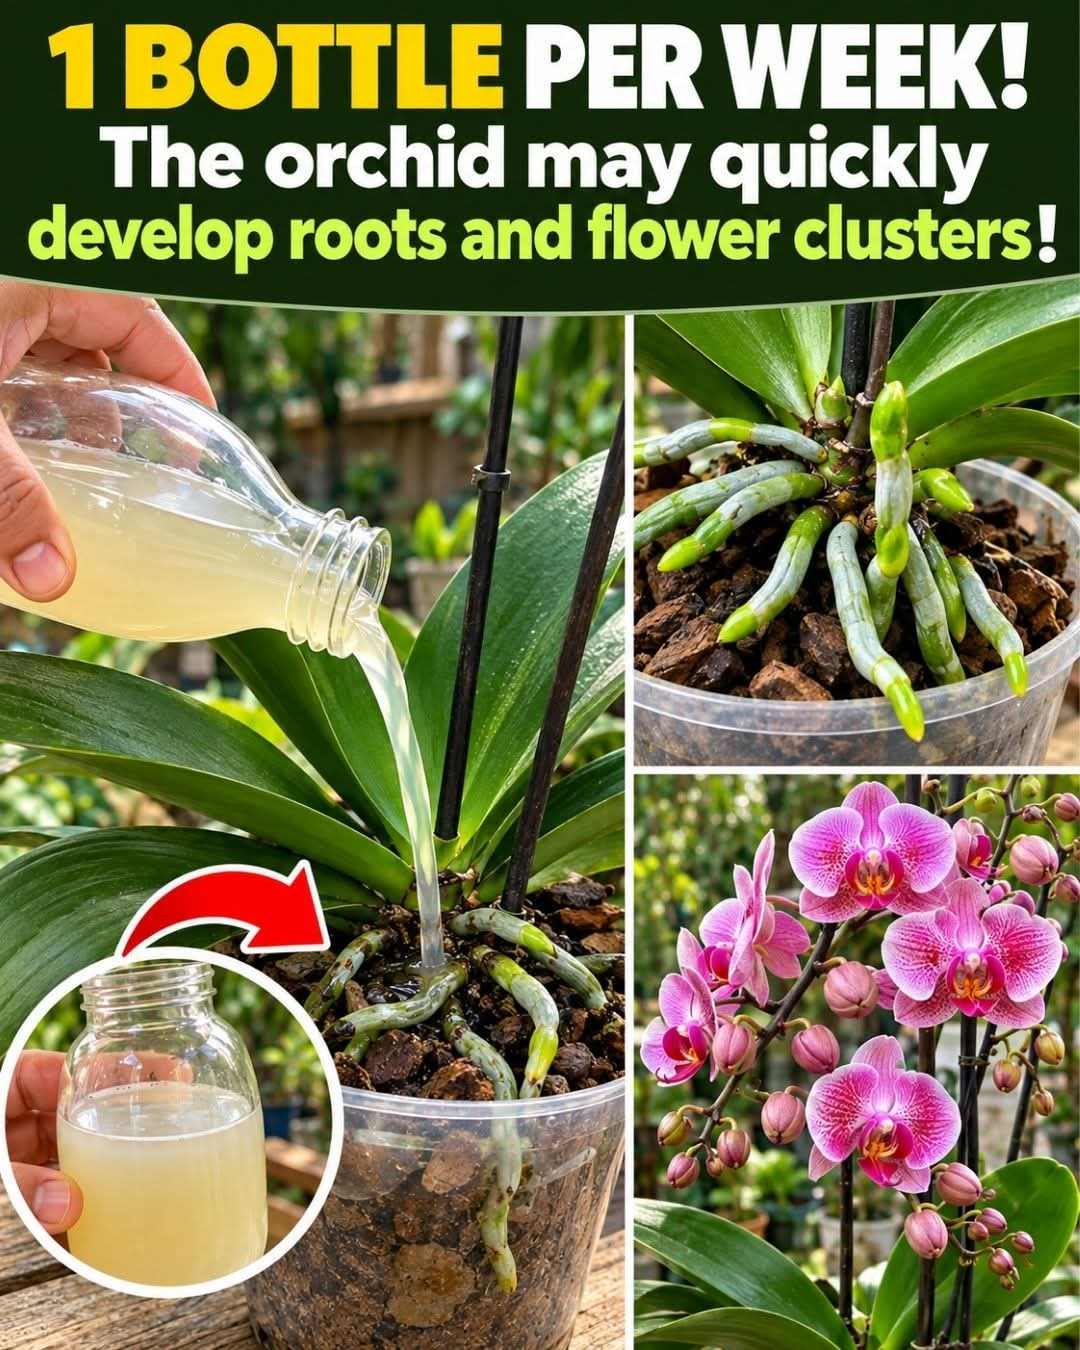
As highlighted in the image guide, applying “1 Bottle Per Week” of a homemade natural fertilizer solution can dramatically transform your plants. This gentle, organic root drench encourages orchids to rapidly sprout thick, vibrant green roots and produce abundant, colorful flower clusters.
📋 Comprehensive Orchid Care Profile
| Metric / Parameter | Specification / Requirement |
|---|---|
| Plant Type | Phalaenopsis (Moth Orchid) & epiphytic orchids |
| Treatment Method | Weekly root drenching with homemade organic liquid fertilizer |
| Target Results | Rapid aerial root extension, green root tips, vibrant flower spikes |
| Application Frequency | Once per week during active growth seasons (Spring & Summer) |
| Potting Medium | Pine bark chips, sphagnum moss, or coarse coconut husk |
| Lighting Needs | Bright, indirect sunlight (avoid direct harsh mid-day sun) |
🔬 The Science Behind Natural Organic Orchid Solutions
Orchids are epiphytes, meaning in their natural tropical habitats, they grow attached to tree trunks rather than in soil. They absorb moisture and micro-nutrients from rainwater washing over bark. Standard synthetic fertilizers can sometimes be too concentrated, burning delicate orchid root tips.
Homemade organic liquid infusions (such as diluted garlic water, rice water, or potato-banana peel teas) provide a mild, bio-available source of key elements:
- Potassium (K): Stimulates the formation of new flower buds and supports long-lasting blossoms (as seen in the vibrant pink orchids in the lower right image).
- Phosphorus (P): Encourages strong root initiation, leading to bright green, firm root tips (shown in the upper right image).
- Vitamin B-Complex & Micronutrients: Helps orchids recover from transplant shock and accelerates new root formation.
- Natural Antifungal Properties: Mild organic infusions prevent root rot and keep the potting bark clean.
🛠️ Step-by-Step Guide: How to Prepare & Apply the Weekly Solution
Step 1: Prepare the Natural Nutrient Water
- Option A (Rice Water Infusion): Soak 1 cup of uncooked rice in 1 liter of warm water for 30 minutes. Strain out the grains and let the cloudy water cool completely.
- Option B (Garlic & Water Solution): Crush 1-2 garlic cloves into 1 liter of warm water, let it steep overnight, and filter out any solid pieces.
- Note: Ensure the liquid is completely at room temperature before applying it to the plant.
Step 2: Apply 1 Bottle Per Week (Root Drench Method)
- As demonstrated in the main image, pour the nutrient liquid slowly around the potting medium and aerial roots.
- Allow the liquid to saturate the bark chips and soak the roots thoroughly.
- Crucial Drain Phase: Ensure the pot has proper drainage holes so excess liquid flows out completely. Orchids should never sit in stagnant water.
Step 3: Monitor Root Development
- Within a few weeks of consistent weekly application, you will notice firm, silvery-green aerial roots emerging from the stem base.
- Vibrant green tips indicate active growth and excellent hydration.
💡 Expert Care Tips for Endless Orchid Blooms
- Potting Medium Hygiene: Always use well-draining orchid bark rather than regular potting soil.
- Avoid Water in the Crown: Never pour liquid directly into the central leaf crown or allow water to collect in the leaf joints, as this can cause crown rot.
- Lighting Balance: Place your orchid near an east or west-facing window. Bright indirect light is essential for converting root nutrients into big, colorful flower clusters!