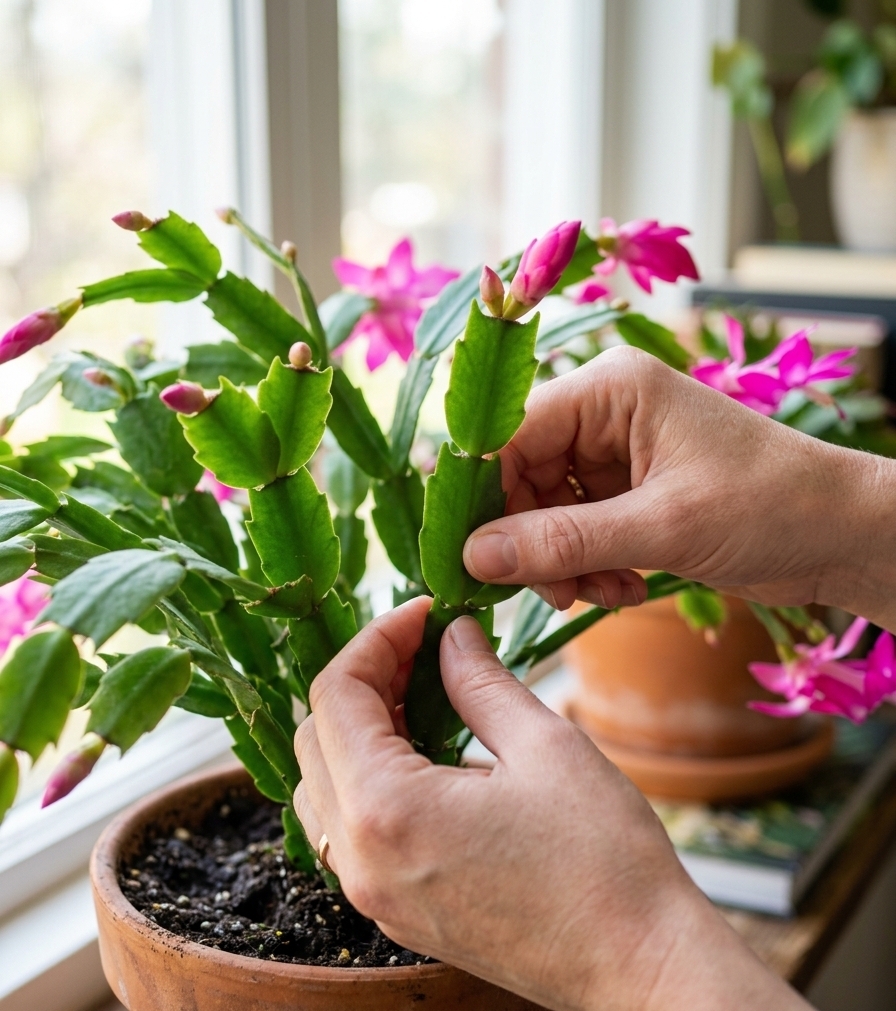
Christmas Cactus (Schlumbergera) is one of the most resilient and rewarding indoor tropical plants to propagate. It effortlessly transforms from a single mother plant into dozens of new, thriving offshoots to share with friends or fill your home. While the multi-step propagation process is visual and straightforward, supercharging the root establishment phase with a natural, homemade nutrient blend like Compost Tea with a coffee liquid twist is a game-changer. This custom “honey-liquid” (named for its rich, translucent color) provides the microscopic life and metabolic fuel new root systems crave.
Here is the ultimate step-by-step article combining detailed propagation instructions with the recipe for this essential natural growth boost.
📋 Care and Technical Overview
| Metric | Propagation & Feeding Specifications |
|---|---|
| Primary Method | Stem Segment Cuttings (containing 2–4 leaf/stem pads) |
| Ideal Timing | Spring or immediately following the post-blooming dormant period |
| Rooting Medium | Light, airy substrate (e.g., 50/50 mix of peat moss and perlite/bark) |
| Natural Supplement | Aerated Compost Tea with added diluted coffee liquid |
| Supplement Benefits | Boosts soil microbes, stimulates root elongation, prevents fungal issues |
✂️ The Multi-Step Propagation Guide
Following the standard visual workflow, propagation hinges on three critical stages:
Stage 1: Harvesting the Cuttings (Top Photo)
Select a healthy, mature stem section with 2 to 4 distinct segments (cladodes). Rather than cutting, the best practice is to gently but firmly twist the segment at the node (the joint) until it snaps cleanly away from the mother plant. This method causes the least tissue damage.
Stage 2: Drying and Callousing (Middle Photo)
Place the freshly harvested segments on a dry plate or paper towel in a shady, warm location. Leave them for 1 to 3 days. During this time, the wound at the base will dry and harden, forming a protective callous. This step is non-negotiable, as inserting fresh tissue directly into soil often leads to immediate rot.
Stage 3: Planting and Potting (Bottom Photo)
Prepare small nursery pots filled with the light rooting medium. Plant the calloused cuttings vertically, burying the base node only 1–2 cm deep. Firm the substrate gently around the stem to hold it upright, then lightly mist the soil. Place in a warm location with bright, indirect light.
🧪 Preparing the Compost Tea with Coffee Liquid (The Honey-Liquid)
This powerful organic drench stimulates rooting and micro-rhizome development.
How to Prepare:
- Compost Tea Base: Create a classic Compost Tea. Steep high-quality vermicompost (worm castings) or finished organic compost in non-chlorinated water (rainwater or filtered tap water) for 24–48 hours until it reaches a rich, honey-like or deep amber color.
- Add Coffee Liquid: Brew plain, strong black coffee (no sugar or creamer). Allow it to cool completely. For this blend, combine 1 part cooled coffee with 5 parts Compost Tea (1:5 dilution).
- Result: The resulting mixture is the potent “honey-liquid.”
How to Apply to Cuttings:
- Once roots have initiated (usually 2–3 weeks after planting), wait until the next scheduled watering.
- Gently drench the soil around the base of the established young rooted cuttings with the honey-liquid. Avoid getting the liquid on the green segments.
- Use this organic boost only once every 3 to 4 weeks during active growth.
💡 Expert Propagation Tip
The Humidity Hack: To maximize success, particularly in dry environments, place the newly planted pots in a clear plastic bin or bag with ventilation holes to create a high-humidity greenhouse effect. This keeps the new green segments plump and prevents desiccation while the young roots are developing below the surface.