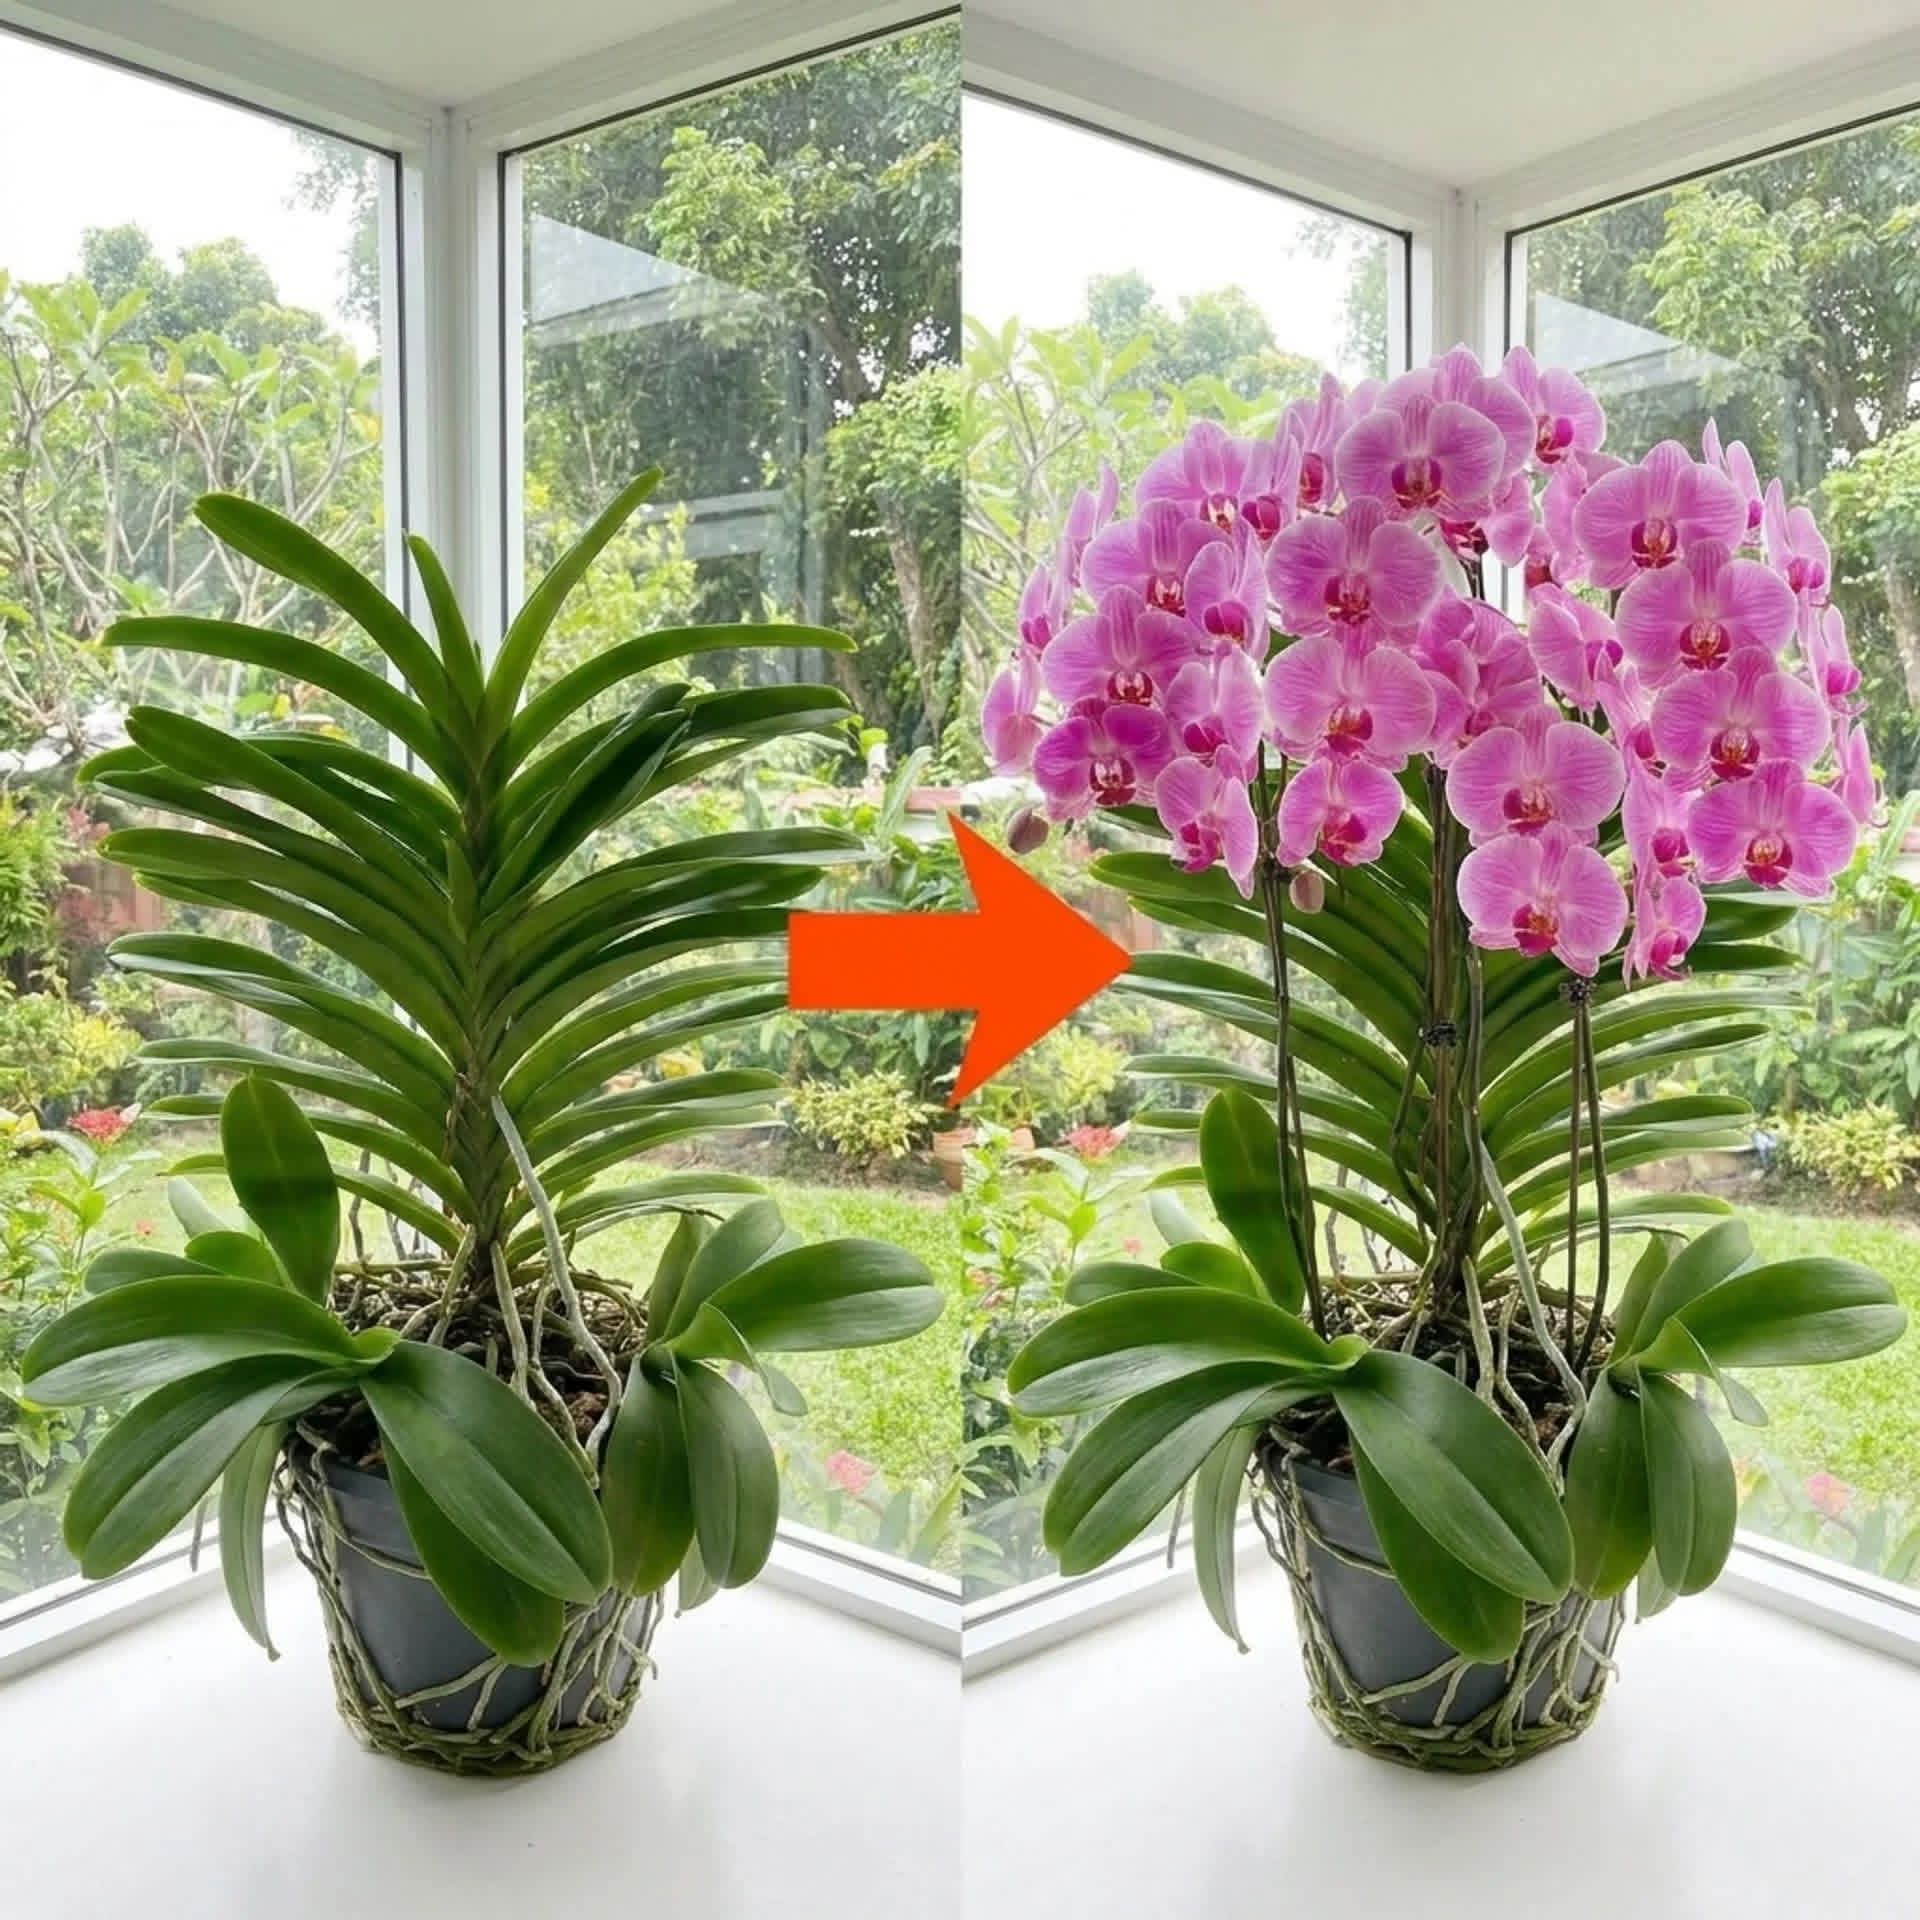
Orchids (Orchidaceae) are among the most stunning houseplants, cherished for their long-lasting, vibrant flowers. However, when an orchid outgrows its original container or suffers from yellowing, damaged foliage, proper care and repotting become essential. Moving your orchid to a sleek glass container, incorporating a pebble drainage system, and nourishing it with a bio-rich blend of organic coffee grounds and compost tea can transform a non-blooming orchid into a spectacular display of pink blossoms.
🔬 1. The Science Behind the Repotting & Organic Feeding Method
Orchids are epiphyte plants—in their natural habitat, they grow attached to trees rather than in dense soil. Transitioning them into a transparent glass vase with stone pebbles allows for optimal root visibility, aeration, and moisture monitoring.
Key Benefits of Ingredients & Materials:
| Component | Function / Mechanism | Benefit to the Orchid |
|---|---|---|
| 🪴 Clear Glass Container | Light penetration to roots | Allows orchid aerial roots to perform photosynthesis and makes moisture levels easy to check. |
| 🪨 Decorative Stones / Pebbles | Drainage & airflow creation | Prevents stagnant water buildup around root bases, avoiding root rot while raising humidity. |
| ✂️ Pruning Damaged Leaves | Energy redirection | Removing yellowed or decayed leaves stops nutrient waste and redirects vitality toward flower growth. |
| ☕ Organic Coffee (Diluted) | Nitrogen & acidic pH balance | Gently lowers soil pH to the orchid’s preferred level (~5.5–6.0) and delivers essential nitrogen. |
| 🌿 Compost Tea | Active microbial inoculation | Introduces beneficial bacteria and trace minerals that strengthen root structure and accelerate blooming. |
📊 2. Nutritional Ratios & Preparation Schedule
To ensure maximum blooming without burning sensitive root systems, follow these precise preparation ratios:
| Application Type | Formula Ratios | Frequency | Primary Purpose |
|---|---|---|---|
| ☕ Coffee-Compost Elixir | 1 part brewed black coffee (cooled) + 3 parts compost tea + 4 parts water | Once every 3–4 weeks | Stimulates metabolic activity and triggers robust floral spike production. |
| 💧 Glass Base Hydration | Clean water over pebbles (below root base) | Maintained consistently | Creates continuous ambient humidity without submerging roots. |
🛠️ 3. Step-by-Step Repotting & Transformation Process
🟢 Step 1: Unpotting & Pruning Damaged Foliage
- Carefully remove the orchid from its old plastic pot and gently untangle the root system.
- Inspect the plant for damaged, brown, soft, or yellow leaves.
- Using sterile pruning shears, clip away all damaged leaves and dried roots near the base to direct energy into healthy new foliage and floral spikes.
🔴 Step 2: Preparing the Glass Vase & Drainage Setup
- Thoroughly clean and sanitize a tall, clear glass planter or vase.
- Layer the bottom with 2 to 3 inches of clean decorative stones or pebbles.
- Pour fresh water over the stones, ensuring the water level stays just below the top layer of pebbles so the orchid’s root crown does not rest directly in water.
⚪ Step 3: Planting & Liquid Feeding
- Place the orchid gently inside the glass container, securing the base among orchid bark or breathable coarse substrate supported by the stones.
- Brew a cup of organic black coffee and let it cool completely to room temperature.
- Mix the cooled coffee with fresh compost tea and dilute with clean water.
- Slowly pour the rich brown Coffee-Compost Tea solution over the substrate and around the root system, allowing it to filter down through the pebbles.
💡 Master Care Tip for Continuous Blooming
Expert Advice:
Orchids thrive on bright, indirect sunlight. Position your new glass-potted orchid near a sunny window with filtered light. The combination of elevated humidity from the pebble base and periodic feeding with the dark coffee-compost solution will encourage rapid bud development, resulting in dense, towering sprays of vibrant pink blooms!